How Non-Programmers Can Harness the Power of Keyboard Macros in Their Routine

How Non-Programmers Can Harness the Power of Keyboard Macros in Their Routine
Macros are essential to any efficient office setup. You don’t have to have a programming degree in order to create useful macros that can save you time throughout your workweek. Not sure where to get started with macros? Well, let me tell you about a few of my favorite shortcuts.
Copy and Paste Macros Get Daily Usage
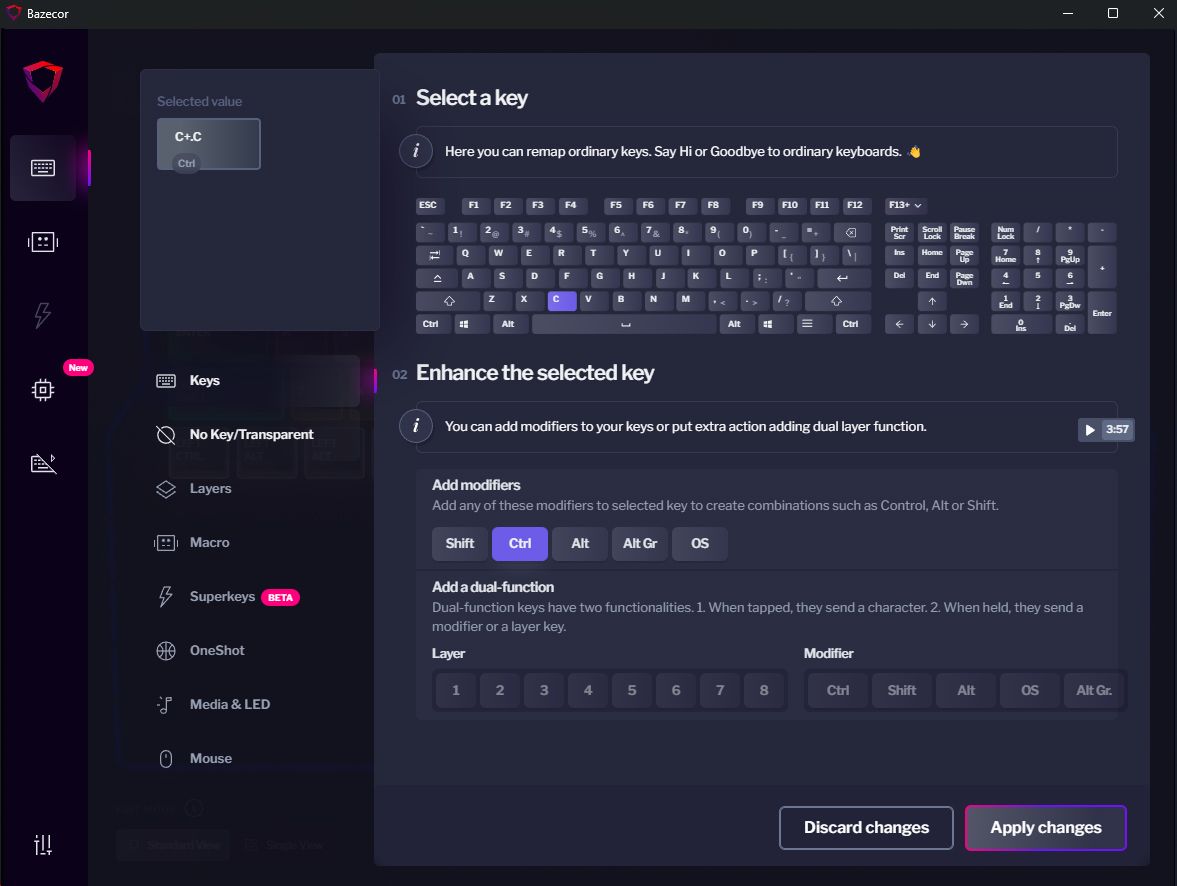
We’ll start off with my most used macro of all: copy and paste. You might say, “Patrick, copy and paste are simple keyboard shortcuts that everyone knows, why program it to a macro?” To which I would reply, “A single keypress is more efficient than hitting two keys awkwardly with your hand.”
Copy and paste are two keyboard shortcuts probably every person knows, but it’s honestly a little cumbersome to hit with your left hand. While possible, it’s not always the easiest thing. And, if you switch between macOS and Windows often (like me), then you’re stuck with trying to program your body to do Ctrl+C on Windows, and Command+C on macOS. Well, with a macro, you don’t have to remember any of that.
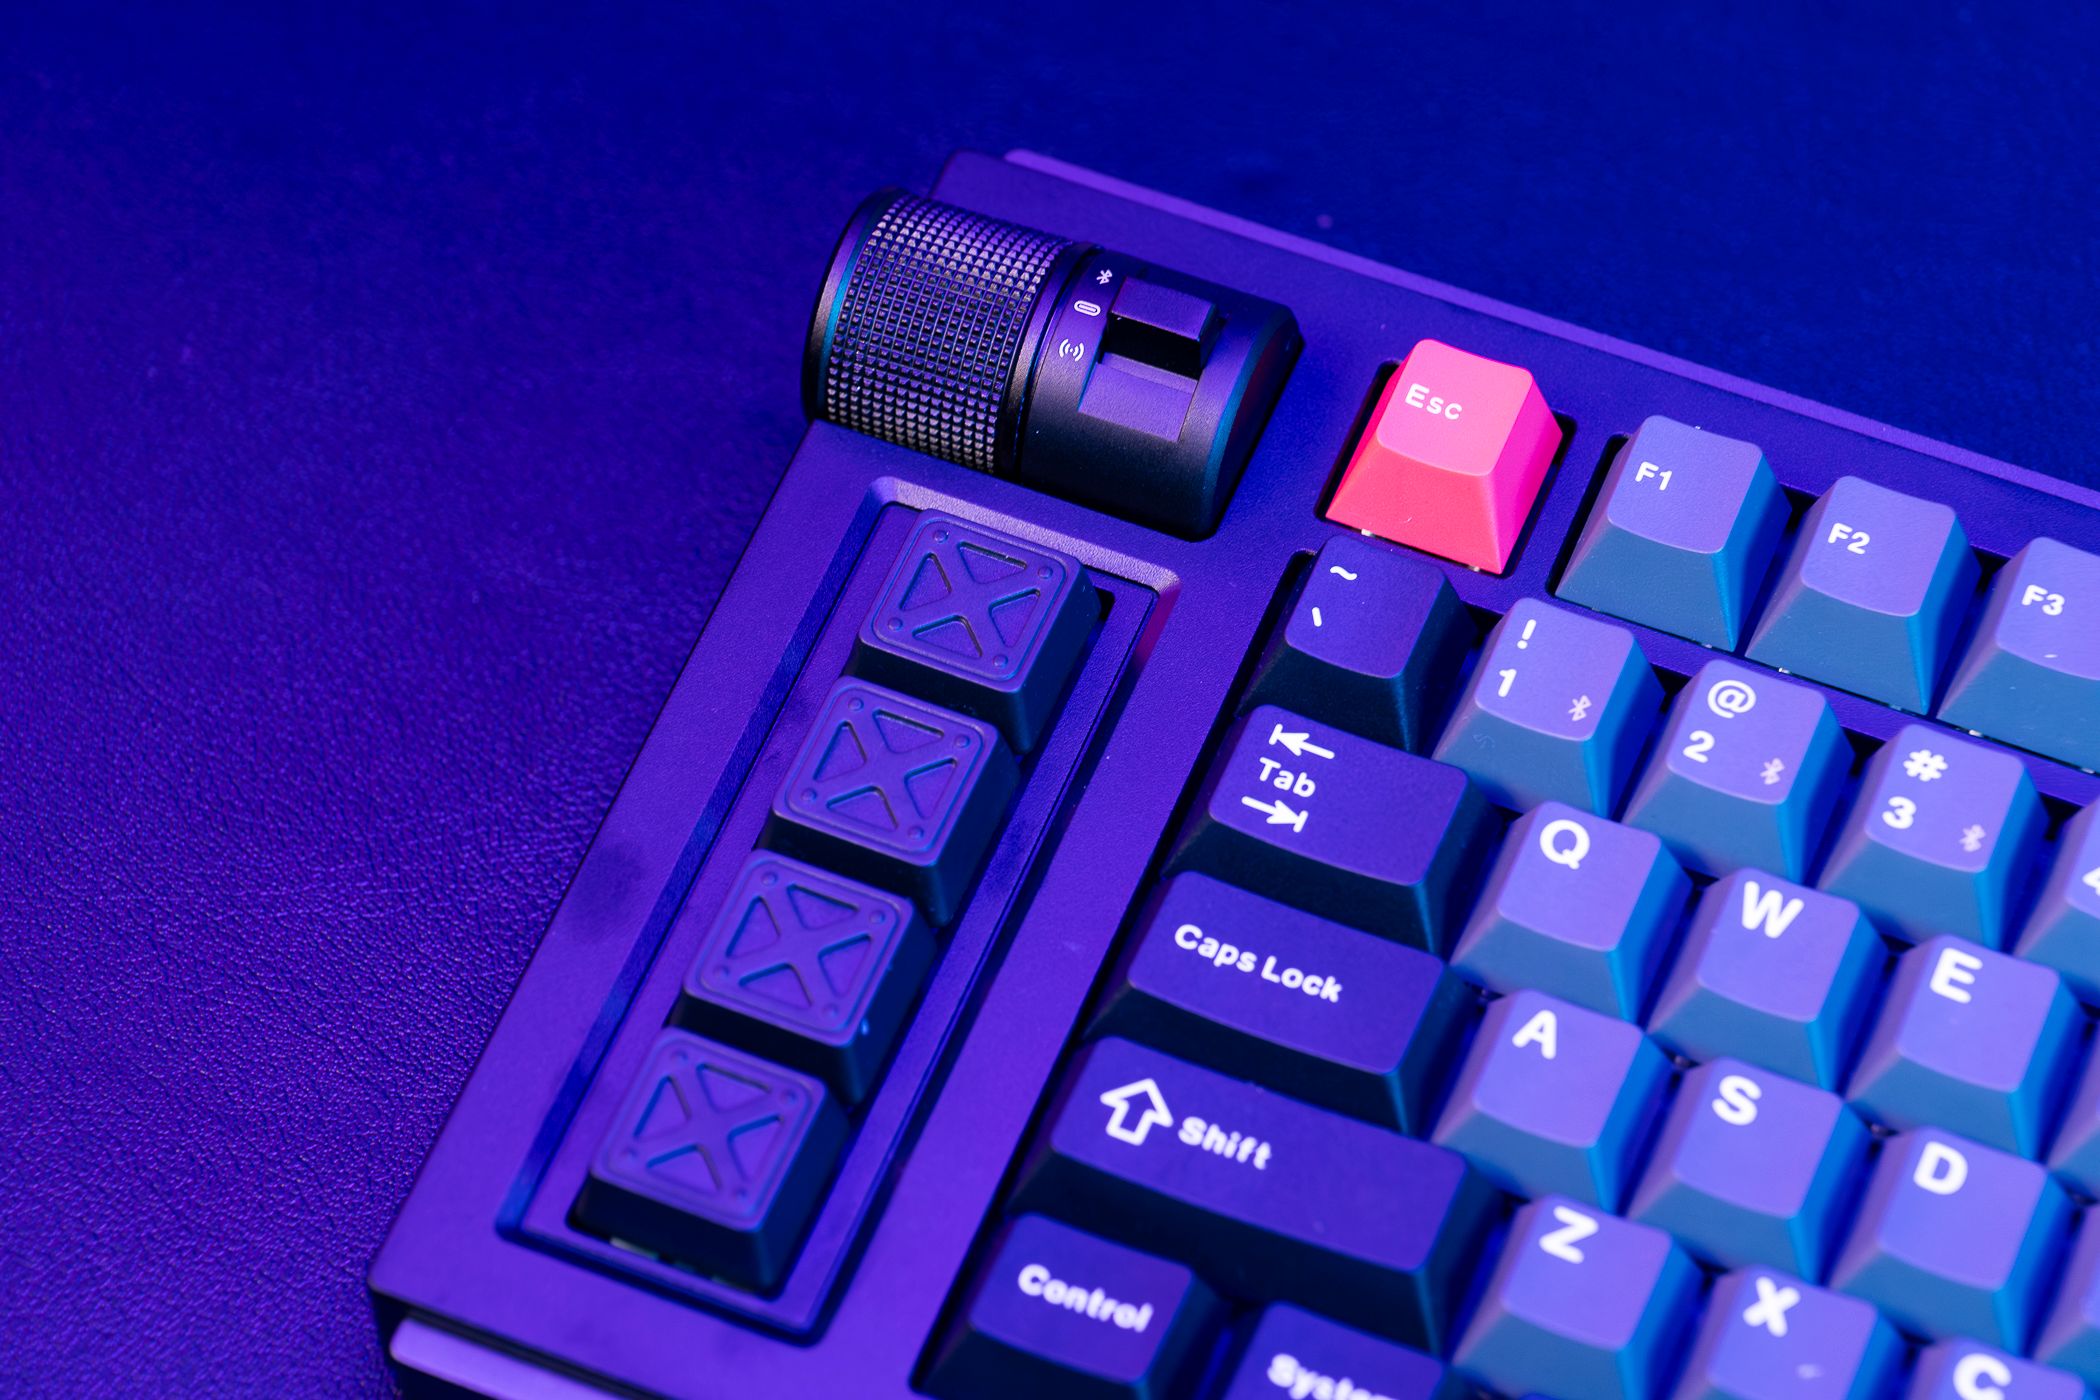
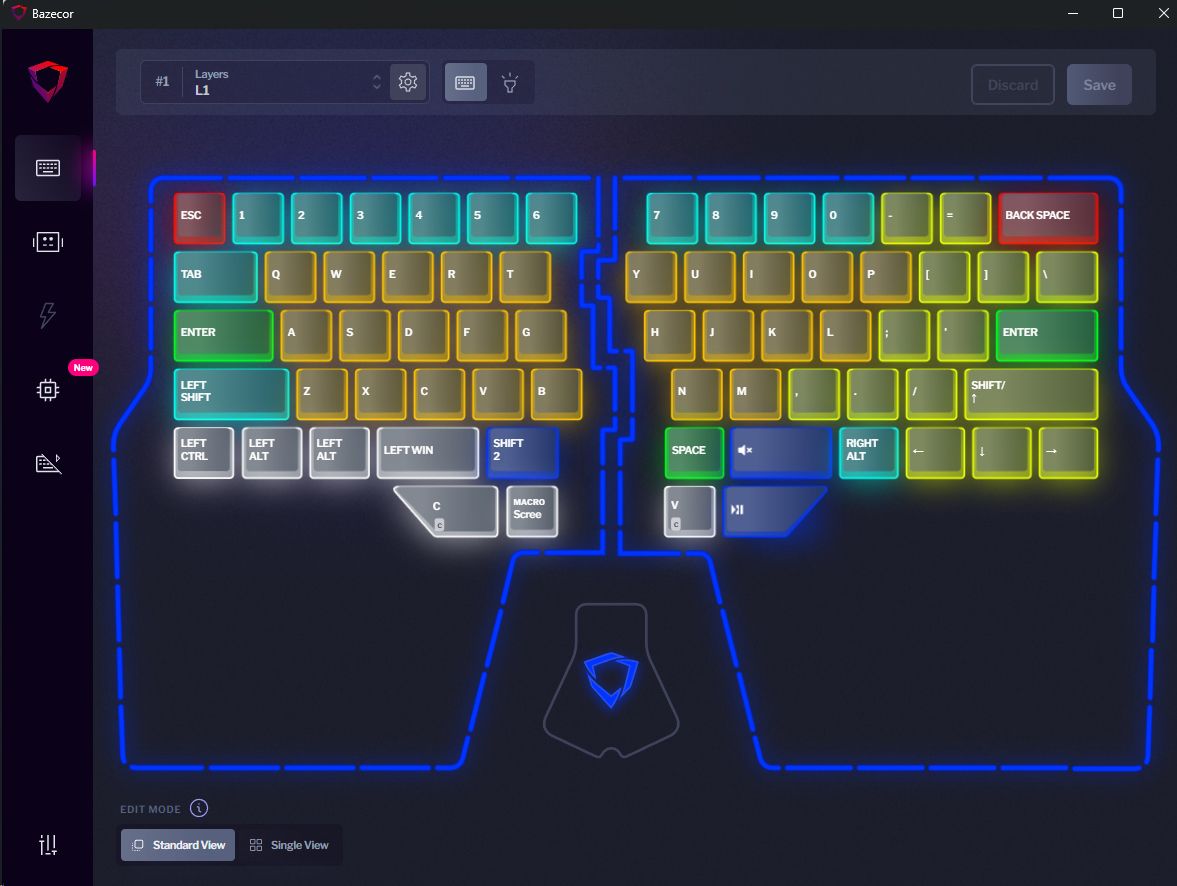
I use a pretty premium keyboard that has several keys where others only have one, but it’ll work just the same on any keyboard capable of using macros. I simply have one of the buttons below the left spacebar on my Dygma Raise programmed to copy, and then one on the right set to paste. I simply have to click a single button and my computer copies what’s highlighted or pastes whatever is on the clipboard. This ties well into the next macro too, as it will paste more than just text. Whatever is in your clipboard will be inserted into the receiving program, just like if you were hitting Ctrl+V or Command+V.
Screenshots With a Single Keystroke
Screenshots used to not be the easiest thing to do on Windows, as you only had the Print Screen function and then would have to dive into Paint or another program to crop it. Well, with Windows 10 and 11 , you have the keyboard shortcut Windows+Shift+S to capture a portion of your screen and copy it to the clipboard. That’s a pretty complicated shortcut to memorize, and requires contorting your fingers in weird ways to hit it properly. While possible, it’s easier to just remember a single keyboard shortcut, and that’s where this macro comes into play.
To the right of my copy macro key on my keyboard, I have a macro that takes a screenshot. It simply mimics me hitting Windows+Shift+S and drops me into the screenshot tool. From there, I use my mouse (which sits between my two keyboard halves like all mice should) and drag it across the portion of my screen that I want to capture. Now, that’s in my clipboard and ready for me to use the paste macro to insert into a program!
macOS users can benefit from the same thing, though on macOS it’s a different shortcut you’ll be programming into the macro. You’ll want to use the Shift+Command+4 shortcut inside the macro to capture a portion of the screen and copy it to your clipboard. However, with macOS, once you’re into the screenshot tool, you can click the spacebar to switch between capturing the entire window you’re hovering over or just a portion of the screen.
Exporting from Photoshop Made Easy
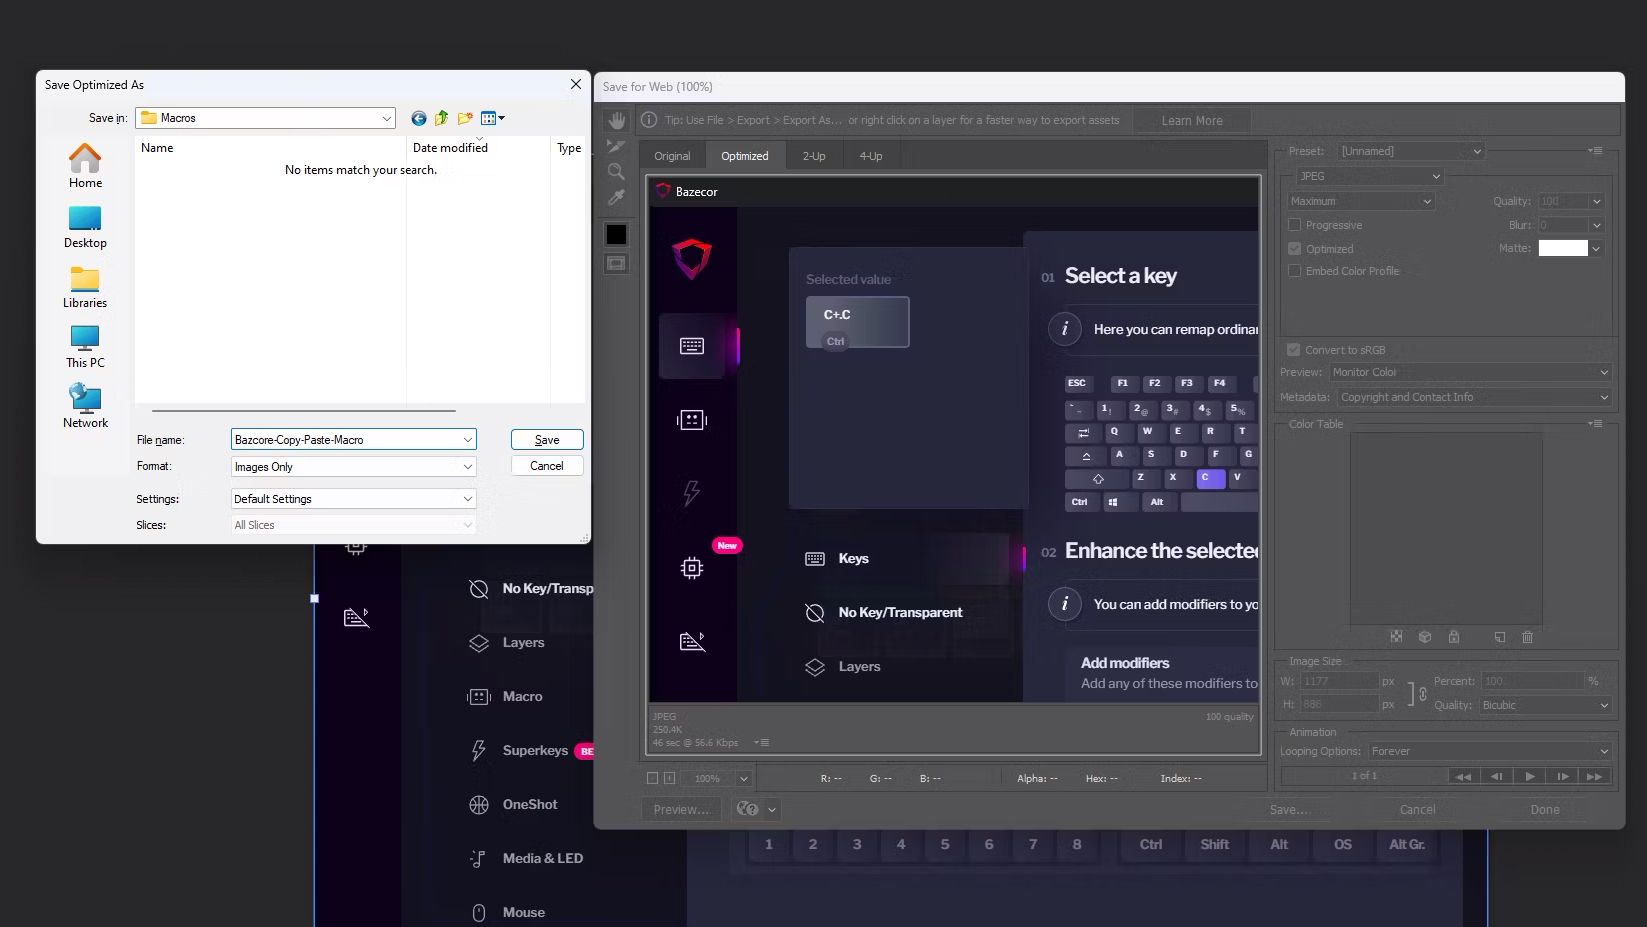
While I don’t use this macro much anymore (as my Photoshop usage over the past year has gone way down), there was a time that this saved me a lot of time. In Photoshop , if you want to “Save for web”, the keyboard shortcut is Alt+Shift+Ctrl+S. That’s a lot to remember, and it used to have me contorting my hand in a very weird way in order to hit it. Then, once you’re at that popup, you have to hit enter in order to actually save. I know there are other methods to save in Photoshop, but because of what I used to do, this was the best way to export for me.
So, what did I do? I created a macro, of course! With two key presses this time (one to switch layers on my keyboard, and one to trigger the macro), I could save a picture from Photoshop simply, without contorting my fingers.
This macro was a bit more complicated, and functions in two stages. First, it does the key press combination to trigger the save function, then it pauses for 100ms, and then it clicks enter. What this does is open the save dialog first, then wait for the dialog to fully open and be ready to interact with, and then click enter so I’m ready to go ahead and save the file.
You could, if you wanted, then program another 100ms pause and click enter again to go ahead and trigger the save function into the folder that it pops up. This would further streamline the process, but also remove the ability for you to rename or choose the destination folder during the save process, which is why I skipped it.
This alone saved me a lot of time every week when I was processing dozens of pictures every day, and sometimes hundreds per week.
Copy a Link and Shorten It in One Move (on macOS)
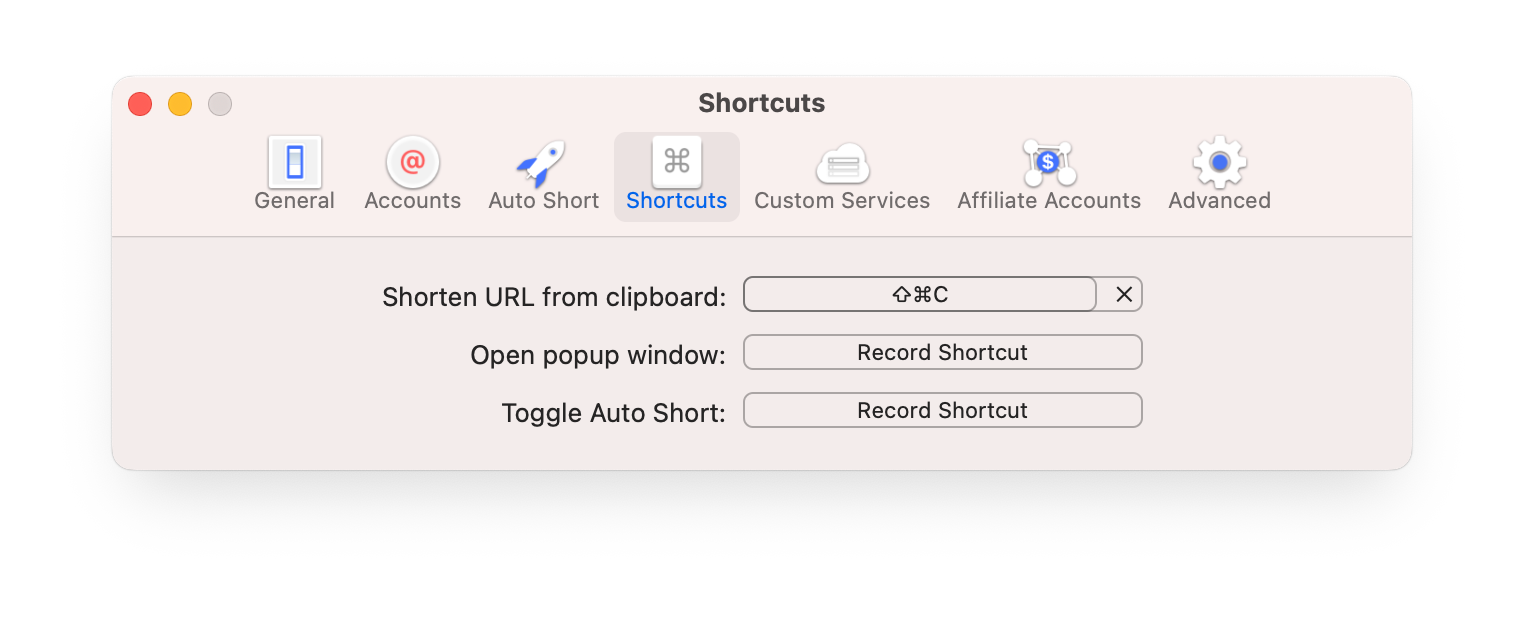
If you’re constantly shortening (or even affiliating) links on macOS, then this piece of software and macro are exactly what you should be leveraging. Using a piece of software called Short Menu , you can program a keyboard shortcut that will shorten any URL you have in your clipboard.
I used this often when I did deals writing, and had the keyboard shortcut programmed as a macro right next to my copy function. So, when I needed to affiliate or shorten a URL, I would start by using my copy macro, then click the button next to that to shorten or affiliate the URL, then click the next button to paste. I took something that would normally take about 6–10 keystrokes and shortened it to 3. That doesn’t sound like a massive change, but it makes an astronomical difference in your daily workflow for sure.
What Can You Macro?
As you see above, there are quite a few things that I’ve turned into a macro that you might not have thought of before. So, what can you macro?
There are so many mundane, repetitive things that we do on our computers every day that can be made simpler and faster by turning them into a macro. For me, I have a keyboard that supports multiple layers and allows me to create macros within its own software. For you, you might need third-party programs like AutoHotKey on Windows or HammerSpoon for macOS. Or, you could opt instead for something like Elgato’s Stream Deck, which is a dedicated macro keypad that has mini LCD’s which can be set to show different images to help you remember what each button does.
We reviewed the Stream Deck+ , if you need inspiration as to how to expand your desk setup further.
Also read:
- [Updated] Mastering the Art of Instagram's Musical Emoji Use
- [Updated] VCS Vision Recorder Check Detailed Scrutiny for 2024
- 2024 Approved YouTube Snippets Get High-Quality Images Without a Penny Paid
- AOMEI OneKey Recovery ソフトウェアの Web上での直接購入方法
- How to Unlock Xiaomi Mix Fold 3 Pattern Lock if Forgotten? 6 Ways
- Installing Epson Workforce 5690 Drivers for Windows Operating Systems, Including 10, 8 & 7
- Massive Savings Alert: Snag the Ultra-Speedy 4TB Samsung Portable SSD Up to 50% Off on Amazon for Labor Day - Don't Miss Out!
- Microsoft Surface: Defining Desires & Setting Realistic Anticipations - Insights From ZDNet
- Most Trusted Children's Tablets Reviewed by Experts and Parents Alike on ZDNet
- Pixel Vs. IPad Showdown: Detailed Specs Compared Side by Side - Tech Insights on ZDNet
- Recording Roulette Top Strategies for TV Show Capture for 2024
- Say Goodbye to Your iPad: Discover How This Innovative Kid-Friendly Tablet Is Changing the Game - Now Available at Discount Prices!
- Secure a Massive Discount: Up To 66% Off Amazon Fire HD 8 Plus Tablet - Exclusive Offer From ZDNet!
- Step-by-Step Guide: Changing Your DNS Settings on Windows - TechAdvice
- Threefold Strategies in the Conversational Realm of ChatGPT-WolframLink
- Title: How Non-Programmers Can Harness the Power of Keyboard Macros in Their Routine
- Author: George
- Created at : 2024-12-20 21:50:07
- Updated at : 2024-12-21 20:38:26
- Link: https://hardware-tips.techidaily.com/how-non-programmers-can-harness-the-power-of-keyboard-macros-in-their-routine/
- License: This work is licensed under CC BY-NC-SA 4.0.